
If you are a hobbyist photographer like me, you have a big collection of digital images, all taking up space on your computer, separate hard drive or even memory cards tossed in a glass jar (yes, I have friends who do this!).
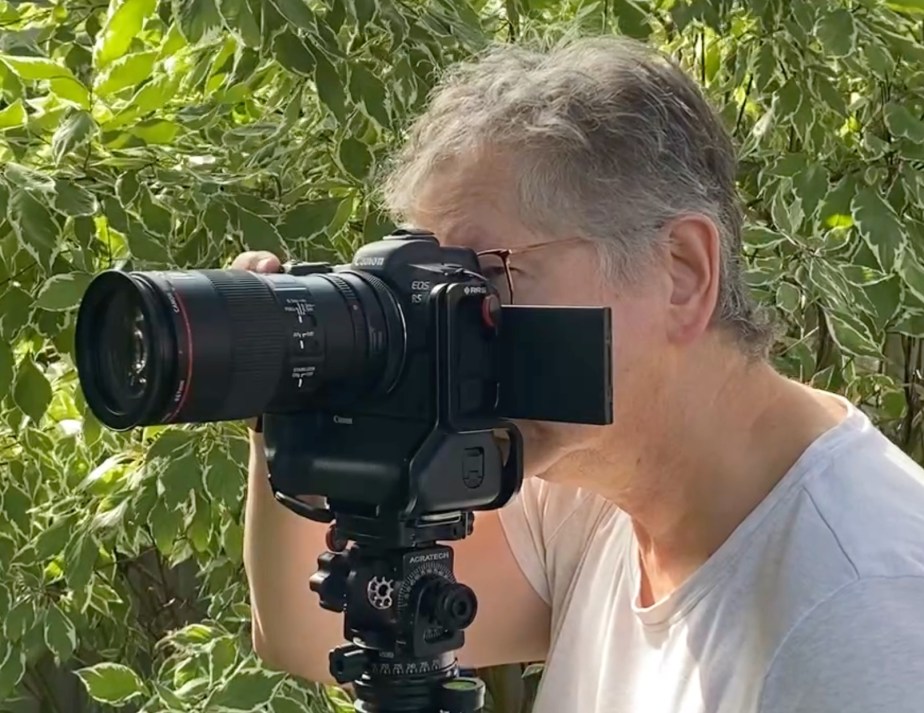
We are creating an amazing legacy of our lives and, sadly, much of it is hidden away. It’s estimated that 5 billion photographs are taken every day around the world. The reality is that our digital lives make this easy – click, click, click – and it also means that only a fraction of these ever see the light of day. It’s also true that only a fraction of these are really worth keeping. From my own experience, I know that my keeper rate is about 10% once I take the time to actually review what I shoot.
But what do you do with that 10%? It shouldn’t sit hidden away. Here’s what I’m doing.
Most of us have pictures hanging on our walls at home. Family memories mostly. It might be memories of the kids as they have grown. But for most hobbyist photographers, quite often we don’t put our own work on display. This is partly because of the effort and cost to print and mount it, and partly because, yes, it puts it on display for others to see. Our life partners may or may not be interested. Our friends may or may not be interested.
But as I look around my house at the other pieces of other artists’ work I have collected, I’ve decided in this decade of my life that my house will now also be filled with my images, right beside the family ones and the “real” works of art. Photography always took a back seat to other commitments in my life, but not so any more. So I’ve now set myself a project to print, mount and frame at least one image a week for my walls.
The first one was my favourite landscape photograph, taken on the Madawaska River here in Ontario, Canada. It gives me peace each time I see it and it is now visible every time I get ready for bed.

How to print this was a big decision. I wanted a couch-sized print, which I could not print myself. I went with a print through my local camera store, mostly because I had a discount coupon offered from a previous purchase. The print came back nicely printed and mounted, but sadly, without the colour punch of the image above. When you print through a store rather than a proper lab, your paper options are limited, your colour adjustments are limited or not available, and the pricing often reflects those limitations. I could have gone to a pro printing lab, which would have charged double. But a couch-sized print has to reflect both quality and the cost you are willing to pay. On that basis, it looks perfect.
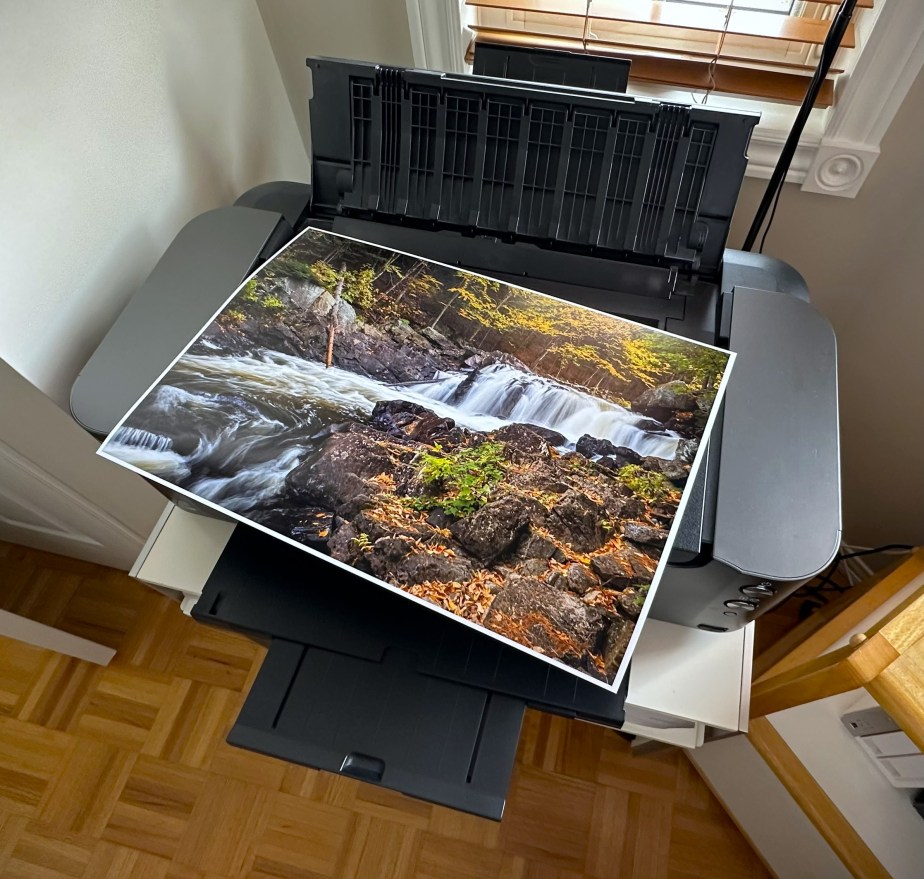
My next set of prints was done at home, on a printer with a maximum size of 13″ x 19″. Big enough to put on a wall, especially in a nice frame. But printing at home is not as straight forward as you might think. Most printers that we can purchase at our local office supply store are designed for printing documents, not photographs. Printing involves laying down rows of coloured dots on a page to eventually form a full image. Most home based printers space these dots quite far apart, limit the colours available and use inexpensive dye-based inks, rather than longer lasting, more vibrant pigment-based inks. This simply means that if you use one of these document printers, even colour ones, your photograph will not have the same punch in print as it does on screen.

Document paper is also not the same as photo paper, the latter of which has thickness and sheen and is typically matched through software to the type of ink in the photo printer. And document printers may not be able to print on photo paper at all – the ink will just smear into a mess. If you are thinking of printing at home, I recommend checking out and investing in a printer specifically designed for photographs. It also has to accommodate the maximum size of print you think you might ever need.
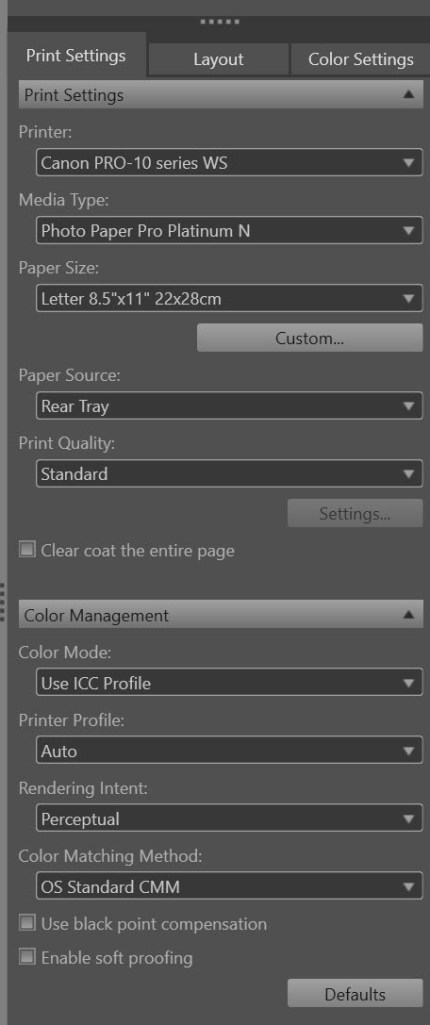
When most of us send a document to print, we just hit “Print”. Not so with a photograph. Most native software to print photographs has lots of options (some of which are seen here). There are multiple choices to be made when printing at home, including brightness settings, contrast settings, and dynamic range (the separation between light and dark elements) in the image. And of course, there are also colour choices needed. Most printers, especially lower cost inkjets, do not have the same range of colours available as your computer does. Depending on the software used for printing, all of these limitations might come up in warnings and ask that you decide how to proceed. You could potentially spend a lot of time preparing each print. But read on…
This isn’t a course on how to print. Luckily for me, this new age of AI driven tools provides more and more assistance with problems such as these. In my case, using Adobe’s Lightroom and Photoshop programs, in partnership with Windows 11 drivers, I have been able to land on a single set of settings that generally work very well with my Canon Pixma Pro-10 photo printer (yes, it’s an old one). The initial investment of time now makes it easy to print almost any photograph in my collection with just a few key presses.
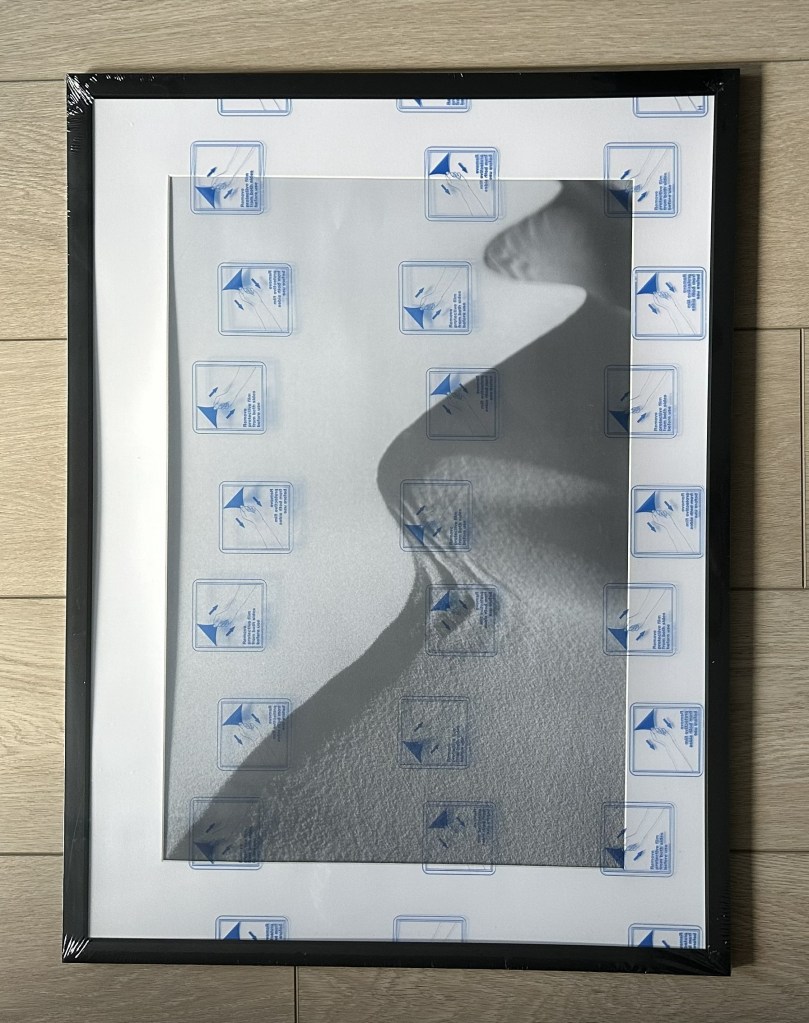
Because I print only one size at home, the next step of mounting and framing the print is also easier than it might be otherwise. The simplest option is to purchase a frame to fit. But if you are like me, you may have frames you have collected that may not exactly fit a specific image, but with a little work, can look great. Frames consist of three main parts: the frame, the glass (or other front protection), and in most cases, a matte.
Using a matte provides super flexibility for mounting images. It simply provides a border around your image that bridges the gap between the edge of your photograph and the edge of the frame. This assumes your image is smaller than your frame. It won’t help if the image is bigger than your frame. The matte is cardboard and can be cut to any size that works with your frame and with your image. Switching to a different sized image just means replacing the matte – a lot less expensive than replacing the frame. Cutting mattes is a bit tricky, but getting it right at home can be very rewarding. You need to be able to measure and calculate a few numbers, that’s all. Low cost matte cutting tools are available from any art or craft store – the mattes are available there too.
The frame you hang your image in doesn’t have to be expensive, but it should be decent quality. If not built soundly, it can sag or warp. If the backing is not strong, you may hear an unexpected crash someday as the mounting lets go. And if there is front glass or plastic, on cheaper frames it could discolour, or go foggy, especially if hung near a window that gets sunlight during the day. You may indeed make a goldmine find for frames at a garage sale, but generally speaking if you want to preserve your images, you will need to look around for some good options.
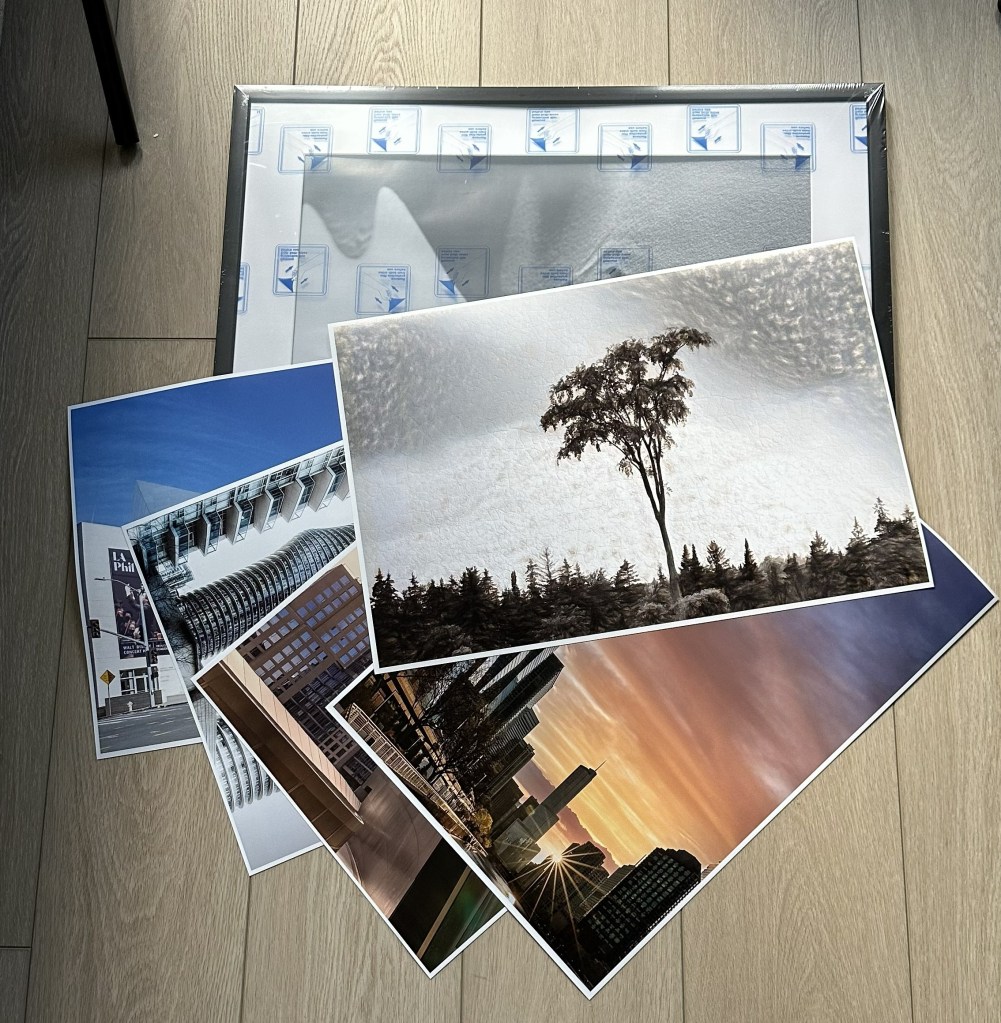
Images as well will fade or discolour over time – sadly, no technology is perfect. But with a little research and some good investment choices, you will have something to admire for a long time as you move around your home. And about showing your work to others, contrary to what you might expect to happen, it’s been really cool for me to have a family member, friend or visitor comment with enjoyment on my images. That unexpected moment sometimes makes my day. Let it make yours too. So much better than tossing a memory card into a jar.
And of course, posting online is great too – hopefully you’ll visit the galleries page and check out my collections!


Good luck with your project, Nina. I would love to know how you make out with frame purchases, etc. As you know we print, matte and frame our own images and it is a lot of work, but the process is a great educator and when you are done, you can be very proud of your work and feel a huge sense of satisfaction.
LikeLike