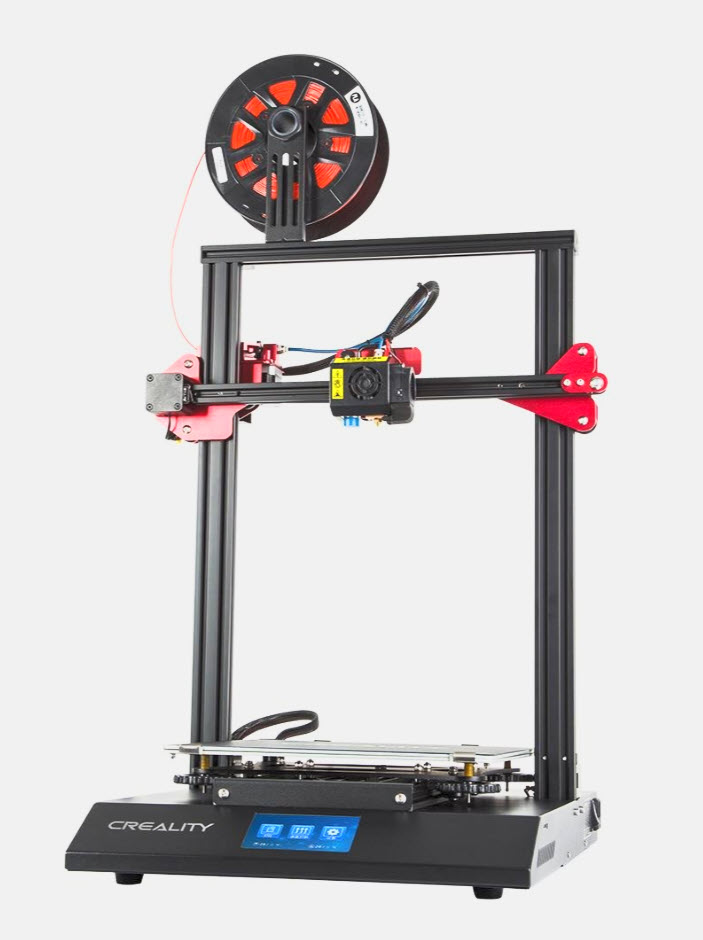
Note the word “trying”. Turns out, this type of printing is not quite as simple as queuing up a file, loading a substrate and hitting print. The hardware and the “substrate”, which in this case are spools of filament, are not cheap and require a well designed project file to start, with an assembly or “slicing” plan to complete, and a printer whose temperature and mechanical settings are perfect.
I wanted to explore this because my astronomy hobby relies on being able to connect devices and hardware items to the top or sides of your telescope, in order to ensure the telescope can move freely without tangling cables or slamming into stationary detached components. I’ve ordered 3D printed items for this purpose from talented folks who designed and printed them for sale. How hard could it be to print my own? Turns out it was a lot harder than I thought.
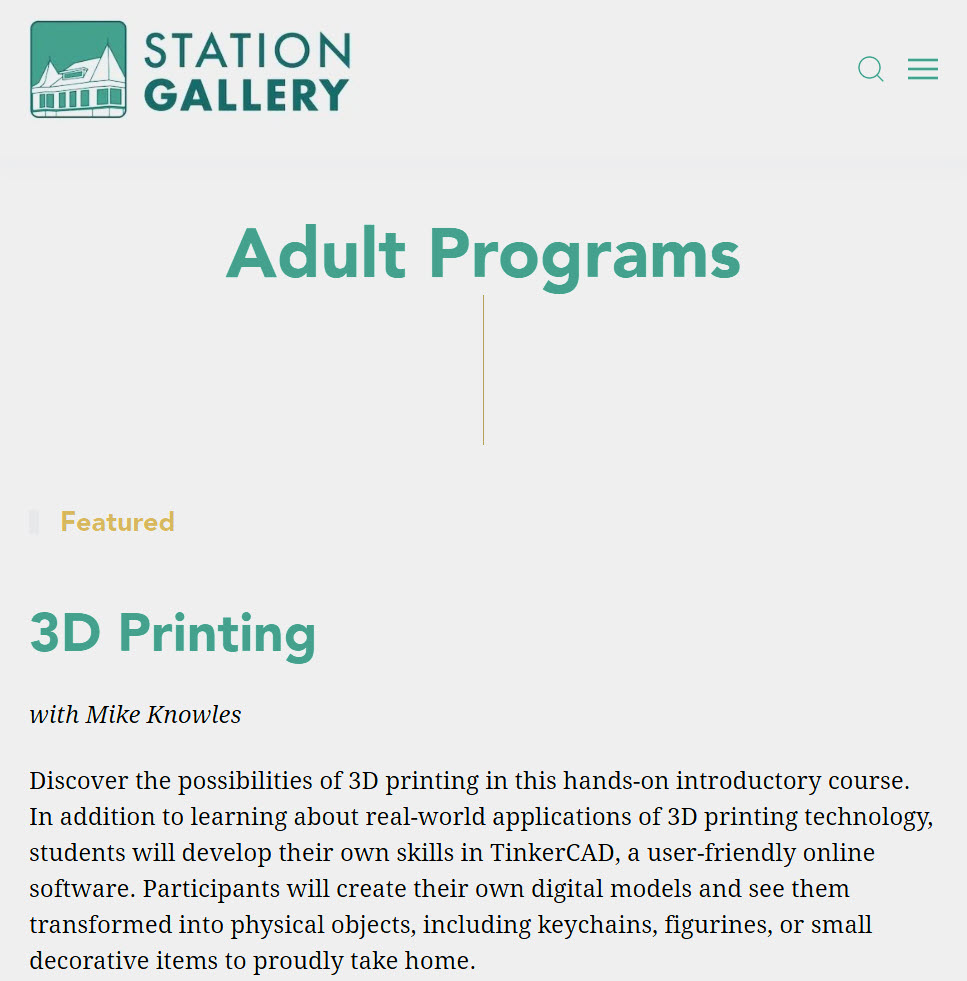
Taking a page out of my recent life lessons book, I decided NOT to invest in any 3D printer hardware or supplies and instead learn about it first, borrow someone else’s setup and see what I got. So I signed up for a course at the Station Gallery in Whitby that offered design instruction, all the supplies and a finished product at the end. This would be covered in 4 sessions over 4 weeks.
Our instructor, Mike, was a great guy, with a career in IT and a number of home businesses, one of which included printing 3D characters for sale, some with animation/articulation of arms/legs. He also offered more general household items. He had leapt in with both feet when he discovered 3D printing, and loves the challenge of creating things.
The first lesson was learning about 3D printing concepts. Producing anything in three dimensions isn’t like using Lego blocks. Instead, it involves taking thin plastic filaments and layering them over top of each other to gradually build up a 3D item. You might have hundreds or even thousands of rows of these filaments all piled on top of each other, melted and locked together with heat to form a solid surface. That means two things: you ultimately need to be able to break down any desired object into a design based on overlapping layers of filament, and you need to be able to initially conceive of your 3D design using a 2D computer screen and design tools.
Anyone who has used a CAD (computer aided design) system easily says “no problem”, but it turns out I had a big problem. I found it really difficult to take a 3D idea and port it to a flat screen. You would think I could handle this easily, since photography does that all the time. Trouble with 3D printing is you need to be able to hold every angle in your head/imagination, taking into account all angles and sides, even if the display in front of you is flat. You use rotation buttons in the software to show you all angles and sides, but as soon as I complete a rotation, the thing just looked flat again. I really struggled with this.
My interest in 3D printing was not for the purpose of designing my own accessories. At best, I planned to take designs publicly available from others and modify them slightly to fit a specific need. That was the case here. I wanted to mount some devices on top of each other on my telescope and to modify a bracket that had been made to do this. I downloaded the bracket and begun to work on it. I first had to learn the software, which most suggest is pretty basic.
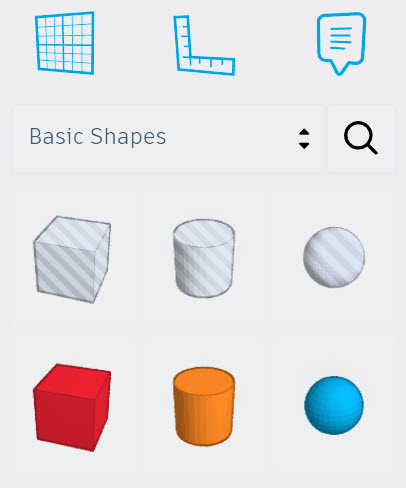
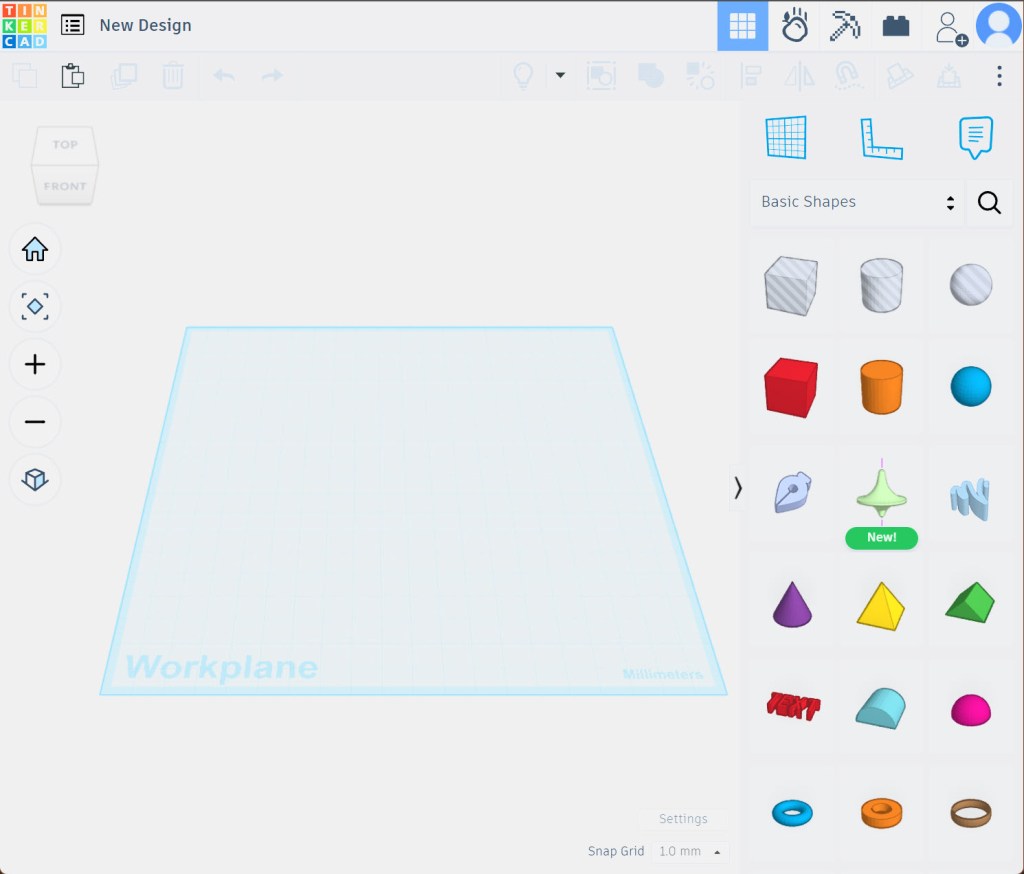
Turns out, you either build from scratch or modify existing designs not by hand drawing lines and angles, but by adding and subtracting shapes. Say what? If you think about it, any 3D item can actually be broken down into a series of shapes joined together. A simple open top storage box is two rectangles – outer and inner, with the centre removed to create an empty space – and maybe squares, triangles to create handles. And that’s a simple item. You have to be able to visualize the wide variety of shapes more complex items are made from and break them down into simpler shapes available in the software.
So you would think that modifying an existing design would be easy as all the conceptualizing was already done. Not so. Existing designs are locked so that any modification (lengthening, shortening, changing the angle, etc.) is applied to the entire design, not just to the area you need to modify. In order to modify a design, you first need to copy it multiple times, then use “remove” shapes on each copy to remove elements that are not being changed, then use “add” shapes on the copies where you need to make changes, then bring the unmodified and modified copies back together. It’s a real pain.

In my design above, the grey bracket was the original. I copied that to create two of them. I then used “remove” shapes to isolate the upper and lower portions separately as seen here. I then modified the lower portion – the red bracket. I then brought the original upper and redesigned lower portions back together for the final design – the orange bracket. These had to be carefully joined to ensure they were welded together in printing. Wow! I had several frustrating stops and starts, and eventually a marathon session on the last day let me finish the design. Anyone with more experience would have done this all in 20 minutes. Not me.
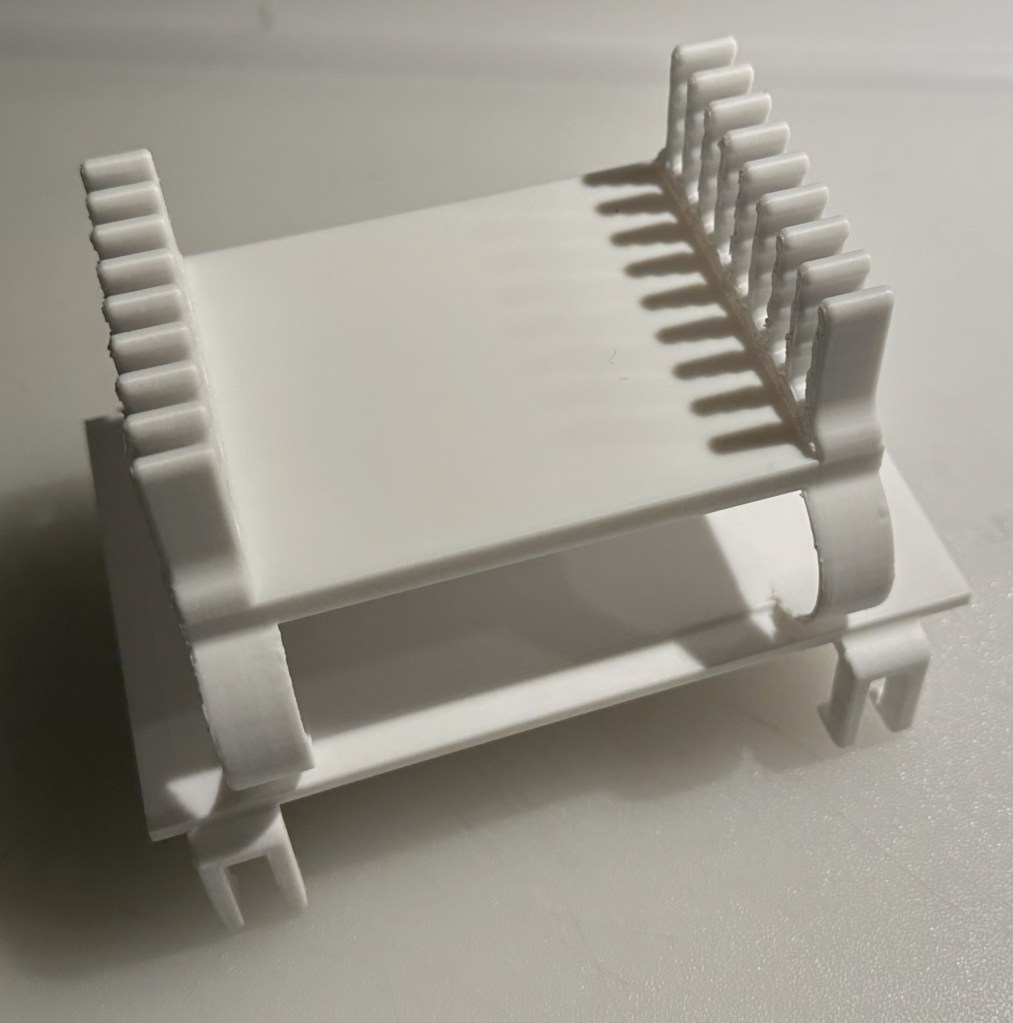
Once designed, Mike visually inspected it to see if there were any obvious flaws that would prevent printing. The next big decision is how to print this file. Remember you are working with heated plastic filaments, so you have to first decide how to orient your print to minimize the tug of gravity on the soft filaments and give them time to harden. You also can’t have any item of the design (arm, leg, etc.) simply dangling in space because it would sag. It needs a “support”. It seems more than half of a print can be “supports” that ensure proper alignment. These are then cut away and the cutaways thrown away. Wow. You may be throwing away half of the filament you use for the print!
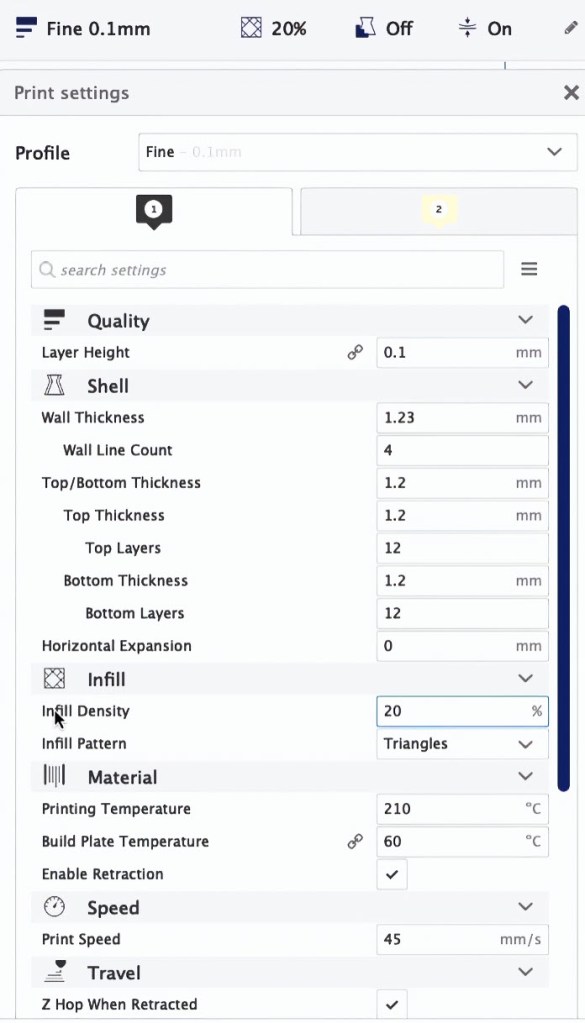
Luckily the “slicing” software can do much of that heavy lifting for you, converting your design into a print plan with location coordinates and how much plastic to “extrude” out at any of those coordinates, along with any supports needed. Or you can have complete control over as many as 300 or more settings, some of which are shown on the right. And in my case, Mike was printing our masterpieces, so an expert hand would be involved. But I honestly had no idea that going from design to print was so complex.
All of this happened behind the scenes, and I was a bit disappointed that I did not actually see the print being made. But, I have enough understanding now to appreciate the process, and that’s really all I wanted.
The finished item turned out ok. It wasn’t a perfect fit and I may try to rework it someday. It was also printed using PLA filament, which I understand can be somewhat brittle when stressed, in my case by moving equipment in and out of the bracket. Apparently there are many more filament choices, of course. But for now, I’m happy I tried this and have a greater appreciation for those who do it successfully. But I won’t be getting a 3D printer, so if anyone has one and would like to be my print shop going forward, let me know.

I do not think my pea brain could do this. Good for you.
Donna
LikeLike